TR
TR EN
EN

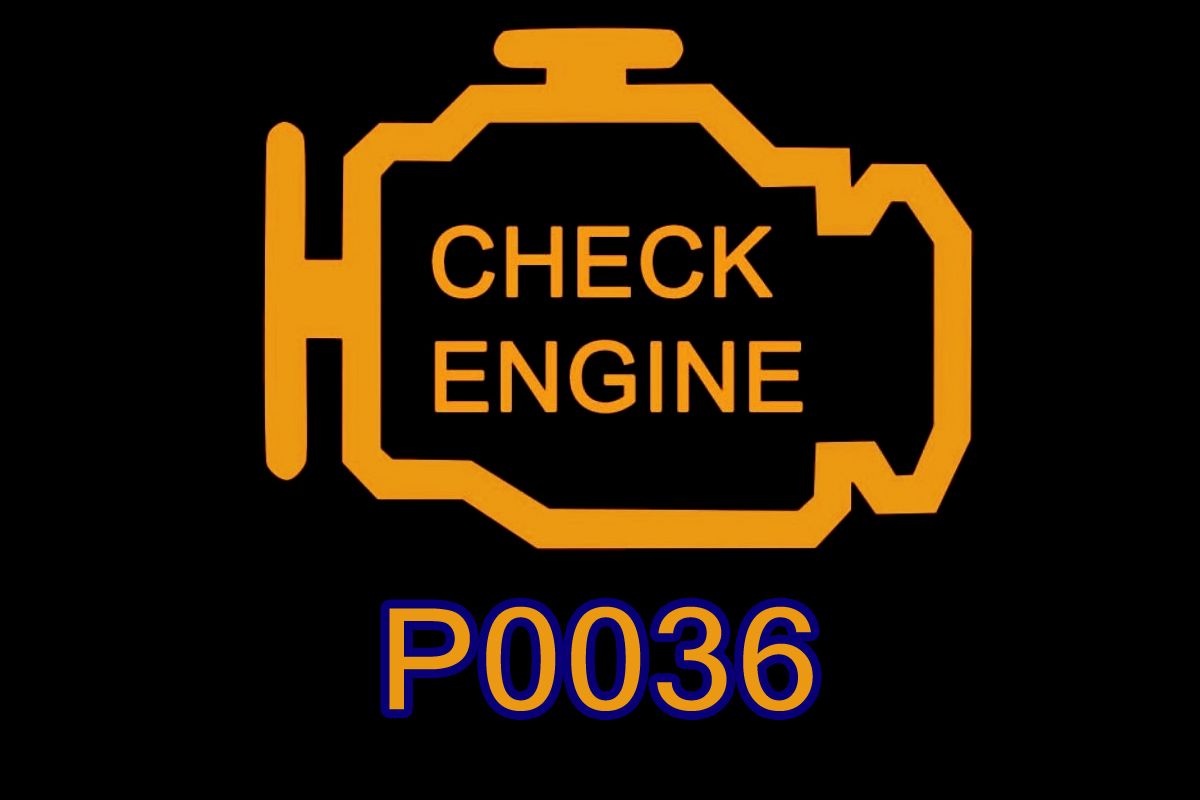
P0036 Heated Oxygen Sensor (HO2S) Heater Control Circuit (Bank 1 Sensor 2)
P0036 is an OBD-II diagnostic trouble code that indicates the engine control module (ECM/PCM) has detected a malfunction in the heater control circuit of the heated oxygen sensor (HO2S) on Bank 1 Sensor 2.
Bank 1 Sensor 2 is generally the downstream oxygen sensor, located after the catalytic converter. The code concerns the electrical circuit that heats the sensor; it does not automatically mean that the sensor's oxygen-reading element has failed.
Unlike codes that specify High, Low, or Range/Performance, P0036 is a more general heater-control-circuit code. The exact electrical fault can therefore be an open circuit, short circuit, excessive resistance, poor connection, failed heater element, power-supply problem, or a problem with the ECM's control side.
What Is Bank 1 Sensor 2?
The sensor designation has two parts.
Bank 1 identifies the engine bank containing cylinder number 1.
Sensor 2 identifies the oxygen sensor located downstream of the catalytic converter.
Therefore:
Bank 1 Sensor 2 = downstream oxygen sensor on the Bank 1 side
On an inline four-cylinder engine, there is normally only one cylinder bank, so the relevant sensor is simply the downstream sensor in Bank 1.
On a V6, V8, or another multi-bank engine, Bank 1 must be identified from the cylinder numbering. Do not assume that Bank 1 is always the left or right side of the engine.
Why Does Sensor 2 Have a Heater?
An oxygen sensor needs to reach a specific operating temperature before its sensing element can function correctly.
The exhaust provides heat naturally, but relying exclusively on exhaust temperature would make the sensor slow to become operational.
The integrated heater allows the ECM to bring the sensor to operating temperature much faster.
This is particularly useful after a cold start and during operating conditions where exhaust temperature is relatively low.
A simplified system looks like this:
Power supply → HO2S heater → ECM-controlled circuit
The exact electrical architecture varies between manufacturers.
What Does P0036 Actually Mean?
P0036 tells you that the ECM has detected a problem in the heater-control circuit.
It does not tell you exactly which part has failed.
The ECM may monitor:
-
Heater current
-
Heater voltage
-
Heater resistance
-
Circuit continuity
-
Heater activation
-
Electrical response to a control command
If the observed behavior falls outside the manufacturer's expected range, P0036 can be stored.
This is why the code should be treated as a circuit diagnosis, rather than as a direct instruction to replace the oxygen sensor.
The Heater and Sensor Signal Are Different Circuits
An oxygen sensor generally has separate electrical functions.
The heater circuit warms the sensing element.
The signal circuit communicates the oxygen measurement to the ECM.
Therefore, a sensor can have:
-
A functioning sensing element but a failed heater
-
A functioning heater but a faulty signal circuit
-
A wiring problem affecting only the heater
-
A wiring problem affecting only the signal
P0036 specifically directs attention toward the heater-control system.
Common Causes of P0036
Failed oxygen-sensor heater
The internal heating element can become open or electrically defective.
Open heater circuit
A broken wire, disconnected connector, damaged terminal, or failed internal heater can interrupt the circuit.
Short circuit
The heater wiring may be shorted to ground, battery voltage, or another circuit, depending on the vehicle's design.
High resistance
Corroded terminals, damaged conductors, poor connections, or partially broken wires can increase circuit resistance.
Damaged wiring
Oxygen-sensor wiring is exposed to considerable heat, vibration, moisture and road contamination.
Damaged connector
Corrosion, water intrusion, loose terminals, or pushed-back pins can disrupt heater operation.
Blown fuse or failed power supply
The heater may share a power supply with other oxygen sensors or emissions components.
Incorrect oxygen sensor
A replacement sensor with incorrect heater characteristics or pin configuration can create a heater-circuit fault.
Previous wiring repair
Incorrect splicing or connection can change the electrical characteristics of the heater circuit.
ECM control-driver fault
The ECM may have a failed heater-control driver, although this is generally a late-stage possibility.
Exhaust-Side Wiring Deserves Special Attention
Bank 1 Sensor 2 is located in the exhaust system, meaning its wiring is exposed to high temperatures.
Inspect the harness carefully for:
-
Melted insulation
-
Burn marks
-
Brittle insulation
-
Exposed conductors
-
Chafing
-
Broken wires
-
Wiring touching the exhaust
-
Incorrect routing
-
Poor previous repairs
A harness may look fine from above while being damaged where it passes close to the catalytic converter or exhaust pipe.
Symptoms of P0036
P0036 may produce surprisingly few noticeable symptoms.
Possible symptoms include:
-
Check Engine Light
-
Increased emissions
-
Failed emissions testing
-
Delayed oxygen-sensor warm-up
-
Catalyst-monitoring problems
-
Changes in fuel-control behavior on some vehicles
-
Slightly poorer fuel economy
-
Additional oxygen-sensor codes
Because Sensor 2 is normally downstream of the catalytic converter, many vehicles will continue to drive almost normally.
The absence of obvious drivability problems does not mean the heater circuit is functioning correctly.
P0036 Does Not Mean the Engine Is Running Rich or Lean
This is an important distinction.
P0036 is not a direct indication of:
-
Rich mixture
-
Lean mixture
-
High oxygen concentration
-
Low oxygen concentration
-
Excessive exhaust temperature
A heater failure can indirectly affect sensor operation and emissions, but the code itself is identifying a heater-circuit malfunction.
If fuel-trim or mixture-related codes are also present, they should be diagnosed using their own evidence.
Begin With a Scan Tool
Before replacing any component, scan the vehicle and record:
-
Stored codes
-
Pending codes
-
Freeze-frame data
-
Engine RPM
-
Engine coolant temperature
-
Battery voltage
-
Engine load
-
Other oxygen-sensor codes
-
Other heater-related codes
The presence of several heater codes at the same time is particularly useful.
If multiple sensors report heater faults, look for a common power supply, fuse, relay, ground, or harness problem before replacing individual sensors.
Confirm the Sensor Location
First establish that you are working on Bank 1 Sensor 2.
Use the manufacturer's service information to identify:
-
Sensor location
-
Connector
-
Heater terminals
-
Heater power circuit
-
ECM-controlled heater circuit
This matters because the physical exhaust layout varies between engines.
Inspect the Sensor Connector
After following the appropriate safety and ignition procedures, inspect the connector.
Look for:
-
Corroded terminals
-
Bent pins
-
Loose terminals
-
Pushed-back terminals
-
Water intrusion
-
Oil contamination
-
Broken connector locks
-
Damaged wiring immediately behind the connector
Terminal tension is important. A terminal that looks clean can still have insufficient contact pressure.
Check the Heater Power Supply
The heater needs a suitable electrical supply.
Depending on the vehicle, verify:
-
Fuse
-
Relay
-
Battery/ignition supply
-
Power at the sensor connector
-
Shared heater power circuit
-
Ground/control side
Do not assume that seeing voltage with a multimeter proves the circuit is capable of operating the heater.
A circuit can show voltage with virtually no load and still fail when the heater draws current.
Measure Heater Resistance
With the sensor disconnected, the heater element can often be checked with a multimeter.
An infinite or very high resistance may indicate an open heater.
An abnormally low resistance may indicate an internal short.
However, the measurement must be compared with the manufacturer's specification for that specific sensor.
There is no single heater resistance value that applies to every oxygen sensor.
Different sensors use different heater designs and electrical characteristics.
Check the Circuit, Not Just the Sensor
If the heater resistance is normal, move outward through the circuit.
Check for:
-
Open circuits
-
Short to ground
-
Short to battery voltage
-
Short between heater wires
-
Excessive resistance
-
Poor terminal contact
-
Incorrect wiring
The correct tests depend on the wiring architecture.
Some vehicles switch the ground side of the heater, while others use different control strategies.
Voltage-Drop Testing Can Find Hidden Faults
A basic continuity test is not always sufficient.
A damaged wire may still show continuity but have excessive resistance when current flows.
The same is true of a corroded terminal.
When necessary, use voltage-drop testing or current measurement to determine whether the circuit performs correctly under load.
This is particularly useful when the wiring has suffered heat damage.
Use an Active Test If Available
Some vehicles allow the oxygen-sensor heater to be activated using a bidirectional scan tool.
If supported, observe:
-
Heater command
-
Heater duty cycle
-
Heater current
-
Heater status
-
Battery voltage
-
Sensor temperature/status
The goal is to compare what the ECM commands with what the circuit actually does.
This can help separate a sensor problem from a wiring or ECM control problem.
What If the Heater Resistance Is Normal?
A normal heater resistance does not automatically clear the sensor.
If the heater measures correctly but P0036 remains, investigate:
-
Power supply
-
Control circuit
-
Connector
-
Terminal tension
-
Wiring resistance
-
Voltage drop
-
ECM command
-
Sensor compatibility
The heater could also have a fault that only becomes apparent when operating under temperature or electrical load.
Check for an Incorrect Replacement Sensor
If P0036 appeared after an oxygen-sensor replacement, verify the exact part number.
Two sensors can look almost identical while having different:
-
Heater resistance
-
Current requirements
-
Pin assignments
-
Connector configurations
-
Control characteristics
A physically compatible-looking sensor is not necessarily electrically correct for the vehicle.
Could a Blown Fuse Cause P0036?
Yes, depending on the vehicle's electrical architecture.
If the oxygen-sensor heater receives power through a common fuse, a blown fuse can disable the heater.
However, if a fuse has blown, the underlying cause should also be investigated.
Possible causes include:
-
Shorted wiring
-
Shorted heater element
-
Damaged harness
-
Electrical overload
Simply installing another fuse without finding the reason for the original failure can result in the same fault returning.
What If P0036 Appears After Exhaust Repairs?
Pay close attention to this history.
If the vehicle recently had:
-
Catalytic-converter work
-
Exhaust welding
-
Oxygen-sensor replacement
-
Engine removal
-
Exhaust removal
-
Wiring repairs
inspect the heater harness carefully.
Heat from welding or an exhaust component can damage the insulation.
The harness can also be pinched, stretched, routed incorrectly, or connected to the wrong circuit during reassembly.
Could the ECM Cause P0036?
Yes, but this should not be the first assumption.
The ECM may contain the transistor or driver responsible for controlling the heater.
An internal driver failure can prevent correct heater operation or cause the ECM to detect an abnormal circuit condition.
Before condemning the ECM, verify:
-
Correct oxygen sensor
-
Heater resistance
-
Power supply
-
Wiring
-
Connector
-
Terminal condition
-
Short circuits
-
Voltage under load
-
Heater current
-
ECM control output
Only after these areas have been proven correct should an ECM fault become a serious possibility.
A Practical Diagnostic Sequence
A logical P0036 diagnosis can be performed in this order:
1. Confirm the DTC.
Verify P0036 and check whether other codes are present.
2. Record freeze-frame data.
Note engine temperature, RPM, load and battery voltage.
3. Identify Bank 1 Sensor 2.
Confirm the actual downstream oxygen sensor.
4. Inspect the wiring.
Pay special attention to areas near the catalytic converter and exhaust.
5. Inspect the connector.
Check terminals, corrosion and terminal tension.
6. Check the heater power supply.
Verify the relevant fuse and voltage supply.
7. Measure heater resistance.
Compare it with the manufacturer's specification.
8. Test the heater-control circuit.
Check for opens, shorts and excessive resistance.
9. Perform voltage-drop/current testing where necessary.
10. Use an active heater test if supported.
11. Replace the sensor only when testing identifies an internal heater fault or the manufacturer specifies replacement.
12. Investigate the ECM control circuit last.
Can You Drive With P0036?
In many cases, yes, at least temporarily.
A downstream oxygen-sensor heater fault normally does not prevent the engine from running.
However, the vehicle's emissions system may not operate or monitor correctly until the fault is repaired.
If the vehicle has additional symptoms such as:
-
Severe misfire
-
Major loss of power
-
Strong fuel odor
-
Overheating
-
Flashing Check Engine Light
do not assume those symptoms are caused by P0036 alone.
Repairing P0036
The correct repair depends on the actual fault found during testing.
Possible repairs include:
-
Replacing a defective oxygen sensor
-
Repairing damaged wiring
-
Replacing damaged terminals
-
Repairing a connector
-
Restoring heater power
-
Replacing a failed fuse after correcting the underlying fault
-
Repairing a short circuit
-
Correcting an incorrect sensor installation
-
Repairing the ECM heater-control circuit
-
Replacing/programming the ECM when properly diagnosed
After the repair, clear the DTC and perform the appropriate drive cycle or functional test.
Final Diagnostic Perspective
P0036 identifies a malfunction in the HO2S heater-control circuit for Bank 1 Sensor 2.
The code does not automatically mean that the oxygen sensor itself has failed. The problem can be inside the sensor's heater, but it can also be caused by wiring damage, connector problems, excessive resistance, a missing power supply, an incorrect replacement sensor, a short circuit, or the ECM's heater-control circuit.
Because Bank 1 Sensor 2 is generally located downstream of the catalytic converter, wiring exposed to exhaust heat should receive particular attention.
The best diagnostic strategy is to follow the circuit from the sensor to the power supply and ECM control side, verifying each section against the manufacturer's specifications.
The objective is not simply to replace Bank 1 Sensor 2, but to determine exactly where the heater circuit has stopped behaving as the ECM expects.