TR
TR EN
EN

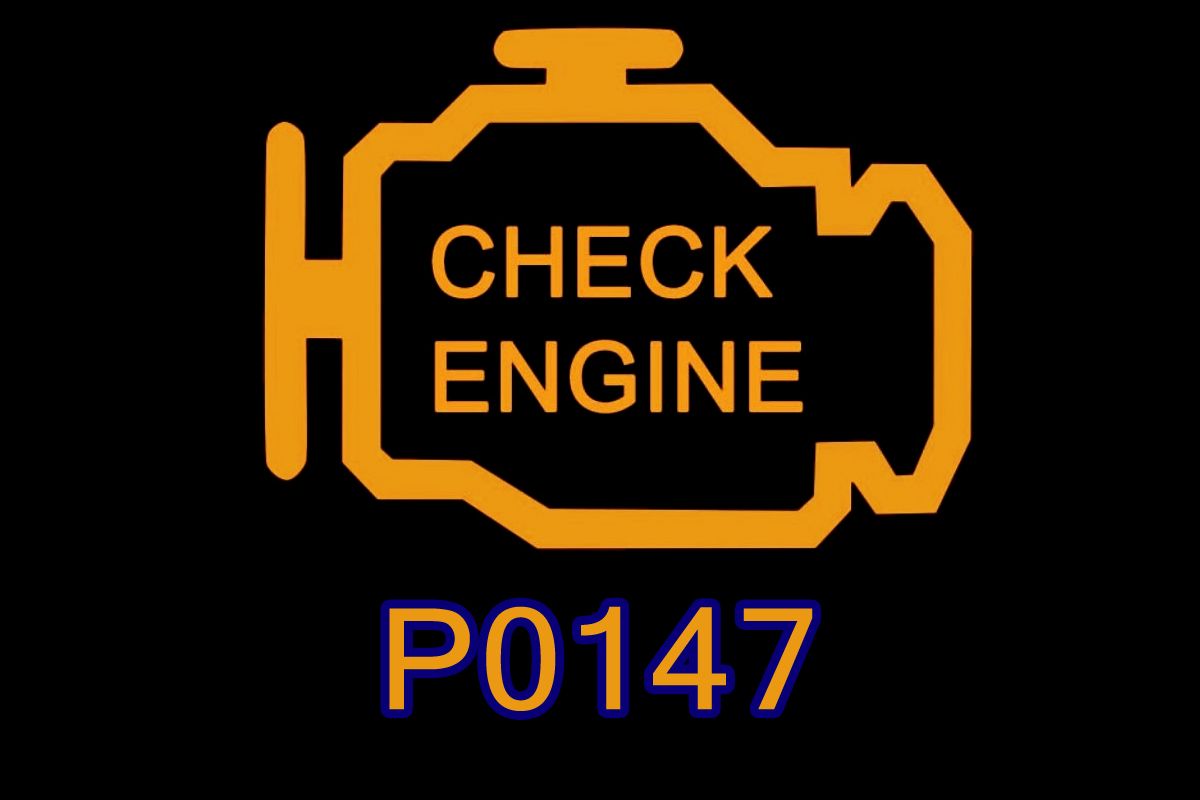
P0147 O2 Sensor Heater Circuit Malfunction (Bank 1, Sensor 3)
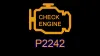
P0147 is an OBD-II diagnostic trouble code indicating a problem with the oxygen sensor heater circuit for Bank 1, Sensor 3.
The important part of this code is the word “heater.” The ECU has detected an electrical problem with the heating element or the circuit that powers and controls it. The code does not, by itself, prove that the oxygen sensor's sensing element has failed.
Sensor 3 is not present on every engine. It is used on certain exhaust systems with additional oxygen sensors, so its exact physical location depends on the vehicle manufacturer and exhaust configuration.
What does the O2 sensor heater do?
An oxygen sensor needs to reach a specific operating temperature before it can produce reliable measurements. Exhaust heat helps warm the sensor, but modern systems often use an electrical heating element inside the sensor to bring it to operating temperature much faster.
The heater is particularly important after a cold start.
A simplified system can be thought of as:
Power supply → O2 sensor heater → ground/control circuit → ECU
Depending on the vehicle, the ECU may provide power to the heater and control the ground side, or the circuit may be designed differently.
When P0147 is stored, the ECU has determined that the heater circuit for Bank 1 Sensor 3 is not behaving as expected.
What does Bank 1 Sensor 3 mean?
Bank 1 refers to the side of the engine containing cylinder number 1.
Sensor 3 refers to the third oxygen/exhaust oxygen sensor identified by the vehicle's control system. Its position is manufacturer-specific.
It should not automatically be assumed that Sensor 3 is in one universal location. On some engines it may be located farther downstream in the exhaust system, while other engines may use a different sensor arrangement.
The best way to identify it is through the vehicle's service information, wiring diagram, or manufacturer-specific sensor designation.
Common causes of P0147
Several different problems can cause this code:
-
Failed O2 sensor heating element
-
Open heater circuit
-
Short circuit in the heater wiring
-
Short to ground or power, depending on circuit design
-
Damaged or melted wiring
-
Corroded O2 sensor connector
-
Loose or poorly seated terminals
-
Blown heater-related fuse
-
Poor electrical connection
-
Faulty heater power supply
-
Faulty heater ground or ECU-controlled ground
-
Incorrect replacement oxygen sensor
-
Battery voltage or charging-system problems
-
Damaged wiring caused by contact with the exhaust
-
ECU driver fault, although this is less common
One of the most common physical problems is heat damage to the wiring. Oxygen sensor harnesses run close to the exhaust system, where insulation can become brittle, melt, or rub against surrounding components.
Symptoms you may notice
P0147 does not always cause obvious drivability problems.
Possible symptoms include:
-
Check Engine Light
-
Longer time before the oxygen sensor becomes active
-
Increased emissions during warm-up
-
Increased fuel consumption in some vehicles
-
Slightly unstable fuel control during the warm-up period
-
Failed emissions inspection
-
Additional oxygen-sensor-related trouble codes
-
No noticeable driving symptoms at all
The actual symptoms depend heavily on how the ECU uses Sensor 3 and whether the heater fault is accompanied by another problem.
How to diagnose P0147
A good diagnosis starts with the electrical circuit rather than immediately replacing the sensor.
1. Check all stored and pending codes
Scan the vehicle for all DTCs.
If other codes relating to sensor voltage, heater circuits, fuel mixture, misfires, or electrical power are present, they may provide important clues.
Freeze-frame data should also be reviewed when available.
2. Identify the correct Sensor 3
Confirm exactly which oxygen sensor the vehicle manufacturer identifies as Bank 1 Sensor 3.
Do not replace a sensor simply because it is the third sensor physically visible in the exhaust system.
3. Inspect the wiring
Follow the sensor harness from the sensor toward the main wiring harness.
Look for:
-
Melted insulation
-
Burn marks
-
Chafing
-
Broken wires
-
Stretched wiring
-
Corrosion
-
Oil contamination
-
Loose connectors
-
Damaged terminals
Pay particular attention to sections close to the exhaust pipe, catalytic converter, or other hot components.
4. Check the fuse
If the heater circuit uses a dedicated fuse or a shared fuse, verify that it is intact.
A blown fuse should not simply be replaced repeatedly. If the new fuse blows again, there may be a short circuit that needs to be located.
5. Test heater power and ground/control
The exact testing procedure depends on the vehicle.
With the appropriate wiring diagram, determine which terminals belong to the heater circuit. Then check whether the expected power supply and control/ground are present under the conditions specified by the manufacturer.
Do not assume that every oxygen sensor heater uses the same wiring arrangement.
6. Measure heater resistance
The heating element can be tested with a multimeter when the manufacturer's procedure specifies a resistance test.
An open circuit can indicate a broken heater element. An abnormally low resistance can indicate an internal short.
However, there is no universal O2 heater resistance value that applies to every vehicle. The correct specification must come from the vehicle's service information.
Also, resistance should be measured with the sensor disconnected from the vehicle circuit. Do not measure resistance through an energized circuit.
7. Perform voltage-drop and load testing
A circuit can show continuity with a multimeter and still fail when the heater draws current.
For that reason, continuity alone is not always sufficient.
A poor terminal connection, partially broken wire, or corroded connector can have enough continuity to produce a normal-looking resistance measurement but still cause excessive voltage drop when the heater operates.
A proper load or voltage-drop test can reveal these problems.
8. Check battery and charging voltage
The O2 heater is an electrical load.
Low system voltage, unstable charging voltage, or a poor power connection can interfere with heater operation and may contribute to diagnostic faults.
Battery and charging-system condition should therefore be considered if other electrical symptoms are present.
Is the oxygen sensor itself faulty?
It can be, but P0147 should not automatically be interpreted as “replace the O2 sensor.”
If the heater element inside the sensor is electrically open or otherwise outside the manufacturer's specification, replacing the sensor may be the correct repair.
But if the sensor heater tests correctly, attention should shift toward:
-
Fuse
-
Power supply
-
Ground/control circuit
-
Wiring
-
Connector
-
Terminals
-
ECU control
This distinction can prevent unnecessary sensor replacement.
Why wiring inspection is especially important
The oxygen sensor may be mounted in an extremely hot area of the vehicle.
Over time, the harness can become damaged by:
-
Exhaust heat
-
Incorrect routing
-
Vibration
-
Contact with metal components
-
Previous exhaust repairs
-
Incorrectly installed replacement parts
A wire may look intact externally but have internal damage. This is one reason an intermittent heater problem can be difficult to find with a simple visual inspection.
What happens if P0147 is ignored?
The vehicle may continue to drive normally, but the sensor may take longer to reach its intended operating temperature.
This can affect how quickly the ECU receives usable oxygen-sensor information after startup and may increase emissions during the warm-up period.
Whether fuel economy or drivability are noticeably affected depends on the specific engine management strategy.
The vehicle may also fail an emissions inspection if the malfunction indicator remains illuminated or the diagnostic monitor does not complete successfully.
Repair options
The correct repair depends on what testing finds.
Possible repairs include:
-
Replacing the Bank 1 Sensor 3 oxygen sensor
-
Repairing damaged heater wiring
-
Replacing a damaged connector or terminal
-
Repairing a power or ground connection
-
Replacing a blown fuse after correcting the underlying fault
-
Correcting incorrect sensor wiring
-
Repairing an ECU-controlled heater circuit
-
Addressing a charging-system problem
After the repair, the diagnostic codes should be cleared according to the manufacturer's procedure and the vehicle should be driven through an appropriate test cycle so the oxygen-sensor heater monitor can run again.
Important diagnostic warning
Do not apply battery voltage randomly to oxygen-sensor terminals to determine which wire is the heater. Some oxygen sensors contain sensitive electronics, and incorrect voltage can damage the sensor or vehicle control circuitry.
Use the vehicle-specific wiring diagram to identify the heater terminals and follow the manufacturer's testing procedure.
Also, do not condemn the ECU before confirming the sensor, wiring, power supply, connector, fuse, and control circuit. An ECU heater-driver failure is possible, but external circuit problems are generally much easier and more common to verify.
P0147 in practical terms
P0147 essentially tells you:
“The ECU has detected an abnormal electrical condition in the heater circuit of Bank 1 Sensor 3.”
The most efficient diagnosis is therefore to treat it as an electrical circuit problem first. Identify the correct sensor, inspect its harness and connector, verify the fuse and power supply, test the heater element, and then check the control side of the circuit.
Only after those checks should the oxygen sensor or ECU be condemned.